Well, when the husband is away, the wife will renovate... Matt told me while we were dating that when his grandpa was away at Daytona, it wasn't unusual for his grandma to renovate, add on to, or do updates to the house. Well, I suppose I am starting small, but I decided to take care of our kitchen countertops. They were kinda icky. So here it goes!
When we moved in the house, the kitchen counters were a fabulous shade of light blue with yellow bleach stains. I tried to find an old picture but I couldn't find one. Just use your imagination...
About 15 months ago, I got a kit from Lowes that was a paint cover-up for formica countertops. It looked fabulous. It was a dark brown that complimented the red/beige kitchen. And then about 3 months later it started chipping away. :(
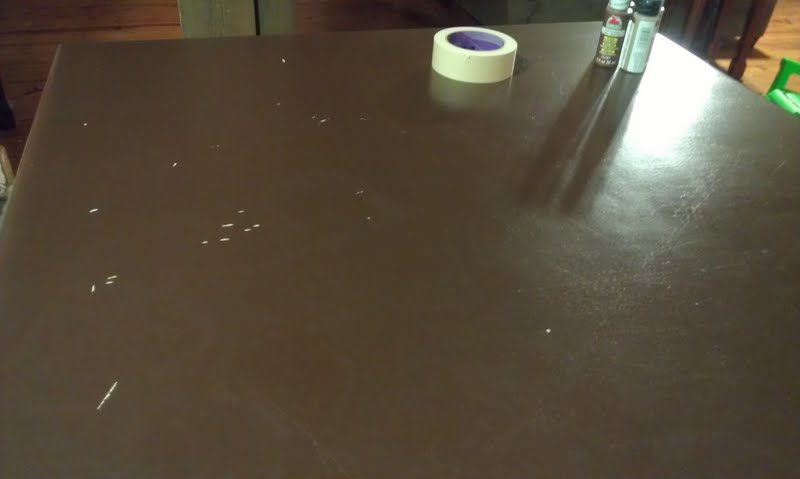
Well, after much google-age, I found that I obviously couldn't afford new "real" countertops, but there are many blogs, videos, tutorials, etc. that showed you how to create faux granite counter tops. All you needed was acrylic craft paint, papertowels, and a sealant. It seemed too good to be true, but then I kept finding more posts that backed up this insane claim. The dark brown paint I had used before, had a primer in it, so I opted to use it as the base rather than priming the entire countertop. Here is what it looked like all taped up and ready to go. I started by cleaning the entire counters within an inch of their lives.

When I started painting, I started with the darkest color. I picked three brown in the craft aisle at Walmart that complimented eachother, a dark, a medium, and a light brown. Then I also bought a metallic gold to highlight with. The picture below is with the darkest brown... It was slightly terrifying... sponging away with a wadded up paper towel.

Here is after the second brown (medium brown was added) It was a caramel-like color.

And now here is what it looked like with one layer of each color.

Yikes! It looked like a disaster. From here you just keep layering the same colors over and over until it gets where you want it to be. Some of the blogs I read suggested trying to match your colors and style to granite samples... I just went for it.

It's as simple as that, wad up a paper towel and dab at the counters with each color, changing to a new paper towel one the old one gets dense and soaked in paint.

Getting closer.


The above and below pics are when I was done completely with the acrylic craft paint. It is kind of dull, and un-granite like since it hasn't been sealed.

I then used polycrylic sealant, gloss finish, to coat the countertops. I just followed the instructions on the can. One coat of sealant, sand it down after a few hours, then add the remaining layers. The can recommended 3 layers, I did 5 ... using the whole can. I figured it was the kitchen and the extra traffic it wouldn't hurt to have some extra buffer.


Here is the finished product after being sealed and adding everything back in.

Close up of the pattern. I like it a lot.

When I started painting, I started with the darkest color. I picked three brown in the craft aisle at Walmart that complimented eachother, a dark, a medium, and a light brown. Then I also bought a metallic gold to highlight with. The picture below is with the darkest brown... It was slightly terrifying... sponging away with a wadded up paper towel.
Here is after the second brown (medium brown was added) It was a caramel-like color.
And now here is what it looked like with one layer of each color.
Yikes! It looked like a disaster. From here you just keep layering the same colors over and over until it gets where you want it to be. Some of the blogs I read suggested trying to match your colors and style to granite samples... I just went for it.
It's as simple as that, wad up a paper towel and dab at the counters with each color, changing to a new paper towel one the old one gets dense and soaked in paint.
Getting closer.
The above and below pics are when I was done completely with the acrylic craft paint. It is kind of dull, and un-granite like since it hasn't been sealed.
I then used polycrylic sealant, gloss finish, to coat the countertops. I just followed the instructions on the can. One coat of sealant, sand it down after a few hours, then add the remaining layers. The can recommended 3 layers, I did 5 ... using the whole can. I figured it was the kitchen and the extra traffic it wouldn't hurt to have some extra buffer.
Here is the finished product after being sealed and adding everything back in.
Close up of the pattern. I like it a lot.
What do you think? I will be 100% happy with it if it remains durable. Here's hoping. Also hoping Matt loves it ... haven't told him! We will know soon!